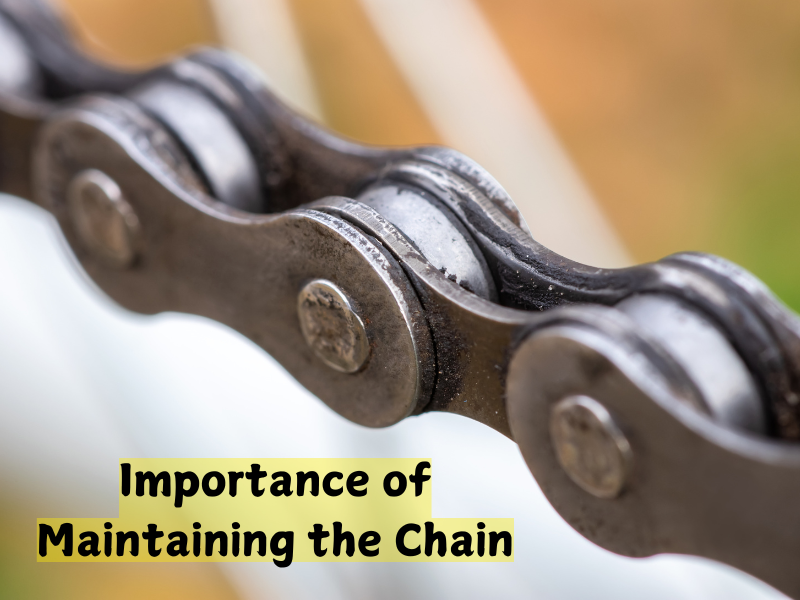
Some of the major things that require to be done properly include lubricant and change bike chain for long term use bike chain.
Its failure to receive this kind of attention leads to poor performance, faster degradation, and expensive troubleshooting.
In this long-term bike chain maintenance guide, you’ll be given step by step instructions on how to properly maintain your bike chain for long periods of time.

Why it is Important to Maintain the Chain:
The chain is actually among one of the most important parts of your bikes if not the most important. It transmits your efforts, slaughtered from the pedals to move, the wheels.
A well cared chain offers smooth experience, prevents wear on other components of the drive train and is more efficient. It also helps reduce the incidences of rust and corrosion hence avoiding short chain life.

Tools and Materials Needed:
- Chain lubricant (either wet or dry based on the trail in which you are using the bike)
- Chain cleaner or degreaser
- Chain breaker tool
- Replacement chain (if needed)
- Cleaning brush or toothbrush
- clean rags Gloves
Step 1:
Inspect the Chain First of all, to avoid its sudden breaks during the work, check the state of your chain carefully. There is the use of a chain checker device in measuring the stretch.
Chains also expand with use and a long chain will push on the cassette and chainrings in a way that may damage them.
If the chain can be measured from the manufacturer’s specs, if it stretches beyond the usual 0.5% to 0.75% then it should be replaced.
Step 2:
Clean the Chain Remove Surface Dirt:
I pointed a clean fold of cloth at the chain to get rid of the loose dirt and particles that were adhering to the chain.
Degrease:
Spray a chain cleaner or a degreaser to the chain. Twist the pedals in the reverse direction with brush touching the chain in order to remove the dirt.
Rinse:
If you have used water soluble degreaser wash it with clean water and dry it with a clean cloth so that it does not rust.
Step 3:
Lubricate the Chain Choose the Right Lubricant:
During dry condition, one should apply a dry lubricant on the chain and during wet or muddy condition a wet lubricant should be applied. Avoid using household oils.
Let It Sit:
Let the lubricant to work into the chain for few a minute.
Remove Excess:
Sweep away any lubricant with a clean cloth or piece of cloth especially on the surface of the material. Using more oils may draw dirt and dust in the engine, hence negating the whole process of lubrication.
Step 4:
Replace the Chain (If needed)
If your chain is worn out, follow these steps to replace it:
Remove the Old Chain:
In order to disassemble the chain, the reverse side of a chain breaker tool is employed to “pop out” one of the chain pins.
Some chains will have a master link that can slip out without the need of tools.
Measure the New Chain:
Put the new chain alongside the original chain to confirm on size of new chain required.
If the old chain is too worn out, consult the owner’s manual or using chain checker machine use the big ring next to the chain and the largest sprocket chain method to measure the new chain.
Install the New Chain:
Put it through the derailleur and over the chainrings and cassette. To make it safer use the chain breaker tool or simply join the master link.
Test the Chain:
These gears should be shifted through all gears so that they produce smooth feel to the users.
Bend the outrigger if required otherwise fine tune the derailleur.

Long-term chain maintenance tips
Clean Regularly:
Check for tightness after every 100-200 miles or after any conditions that can make your chain leave the intended path such as mud or water.
Avoid Cross-Chaining
Do not use very large gear combinations (for instance the smallest chain ring on the front and the smallest cog ), this is because this exerts to much stress on the chain.
Store Properly:
The final stage of the process is useful if meant to store the bicycle for several weeks or months since the chain will rust.
Check for Wear:
Always have a chain checker which helps you to determine when you need to replace the chain as this will save the other components of the drive train.
Choose Quality Chains:
Choose a chain that holds good for your riding style and terrains; a good quality chain will suffice. While inexpensive strips relate to higher economy in the initial period, they have low durability.

Common Mistakes to Avoid Over-Lubricating:
Liberally applying grease pulls in dirt and grime that cause wear hence putting more effort on your commodity.
Skipping Cleaning:
One unpleasant feature of riding is if you lubricate a dirty chain, the grime turns into a kind of paste and ruins the chain further.
Using the Wrong Lubricant:
Hence applying improper lubricants results in low performance and wearing out of the equipment. Neglecting Replacement:
Operating a motorcycle with a worn chain affects other parts and such parts are expensive to replace.
Environmental Considerations:
Properly discard used degreasers and lubricants etc. Most of the bike shops and recycling centers are willing to take these materials to recycle them.
Biodegradable products can also be used to came this problem to some extent.
Conclusion:
Cleaning and servicing your bike chain really doesn’t have to be a huge chore.
Cleaning, lubricating and the right replacement will help to provide a smooth ride, protect the required area of the bicycle as well as increase its lifespan.
I recommend adopting these practices to maximize the number of trouble-free miles you’re going to get on the road or trail.

Pingback: The Complete Bike Maintenance Guide Given to you